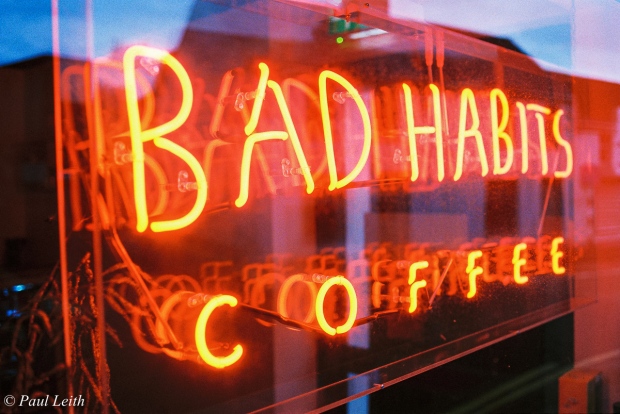
Photographing at night with film can be a daunting proposition … the thoughts of receiving 36 frames that are murky, muddy, and containing patches of off-black nothingness is what usually puts most people off the idea … we all know too well, film does NOT like being underexposed.
However, I did a lot of research before attempting it myself, and I’m delighted to say it paid off, so let me share what I learned, and you can give it a whirl with confidence 😊
Preparation …
Before you even put a roll of film in your camera and step out into those orange street lights, there’s an important number of ‘operational’ elements you need to consider. Getting these right will immediately help increase your ‘keepers’ success rate:
- Tripod : for 75% of film night photography you’ll most likely require a tripod. Embrace it, and simply ensure you’re mindful of where you set up, so you’re not in the way of passers by
- Lens choice : do try use a prime lens with the lowest f-stop possible (f1.4, f1.4, f2) – with urban night photography I found 28mm or 35mm to be ideal
- Aperture : to get as much light as possible, I recommend that you set your aperture wide open and then nudge it down between 1/2 and 1 stop (e.g. I set my 35mm f2 prime to either f2.4 or f2.8). This is because most lenses are generally not their best wide open, and require a small amount of stopping down to reduce aberrations and lower than usual contrast of street lights
- P-A-S-M : I’ve found aperture priority to be very reliable when dealing with shutter speeds of less than 20 seconds, otherwise manual mode is perfectly good
- Film : you’ll need ISO 400 – 800 – 1600 – 3200 film. To that end, I’ve found Kodak UltraMax 400 (colour) and Ilford Delta 400 & 3200 (b&w) to be excellent for my purposes, however there’s a lot of choice so don’t be afraid to experiment!
- Film Rating : if your camera permits it, override your film rating and set it to 1/2 – 2/3 a stop slower than it actually is … this a great trick, which helps compensate for reciprocity failure (film not sensitive enough for accurate shutter speeds slower than 1 second). For example, I set my Kodak Ultramax to be ISO 320 instead of 400.
- Blue Hour : do try and get the most of your photos within the 1-2 hour window after sunset / before sunrise. You’ll gain helpful light for focusing and a beautiful dark, inky blue sky. Either side of those two hours, and it’s going to require more effort, with your artistic focus on shape, light & shadows.
Night Metering
This is usually the part where things can go wrong, but I’ve since found out that it’s easier than I thought, provided you stick to these helpful metering tips:
- Center-weighted
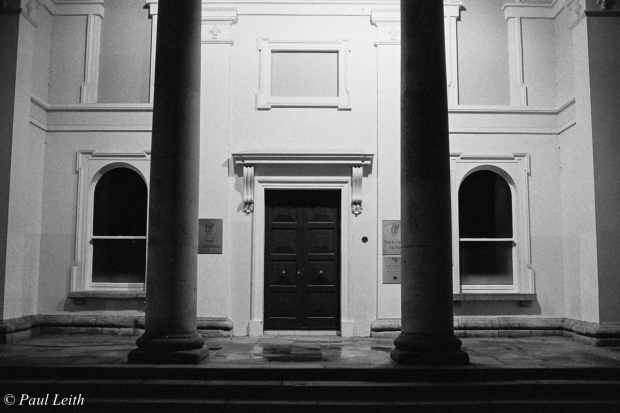
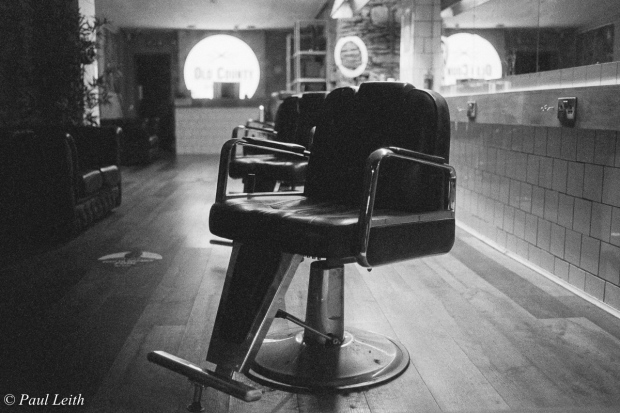
- When composing your photo, simply point the middle of your viewfinder to something within the overall frame, that is neither: 1) a bright light nor 2) the darkest shadow. Lock in that shutter speed … boom, job done.
- Examples: in the courthouse photo above, I took the exposure reading from the central door, while in the barber-shop photo I took the reading from righthand side of the chair.
- Matrix / Evaluative
- I find matrix metering in dark conditions sometimes over-exposes, particularity when it adds exposure calculation bias on where the specific focus point happens to be
- So … simply lock your exposure compensation to -1/2 or -2/3, and fire away … easy, boom !
Work In Post
What you’ll notice with colour film night photography, especially when you use standard colour film (e.g. Kodak Gold, Kodak UltraMax, Fuji C200, etc.) is that there will usually be a very strong orange colour casts … this is because the film isn’t designed for these lighting conditions, it’s meant to be used out in the sunshine 🌤
As a result, I usually adjust the colour temperture of my digital scans in post, pulling the temperature back into the blues, so it looks a little closer to what I saw with my eyes, without losing too much of the film’s character
Final Thoughts …
One interesting thing worth noting is the age of your lens … if you look closely at my black & white photo below you will quickly notice it is aglow with beautiful star bursts !
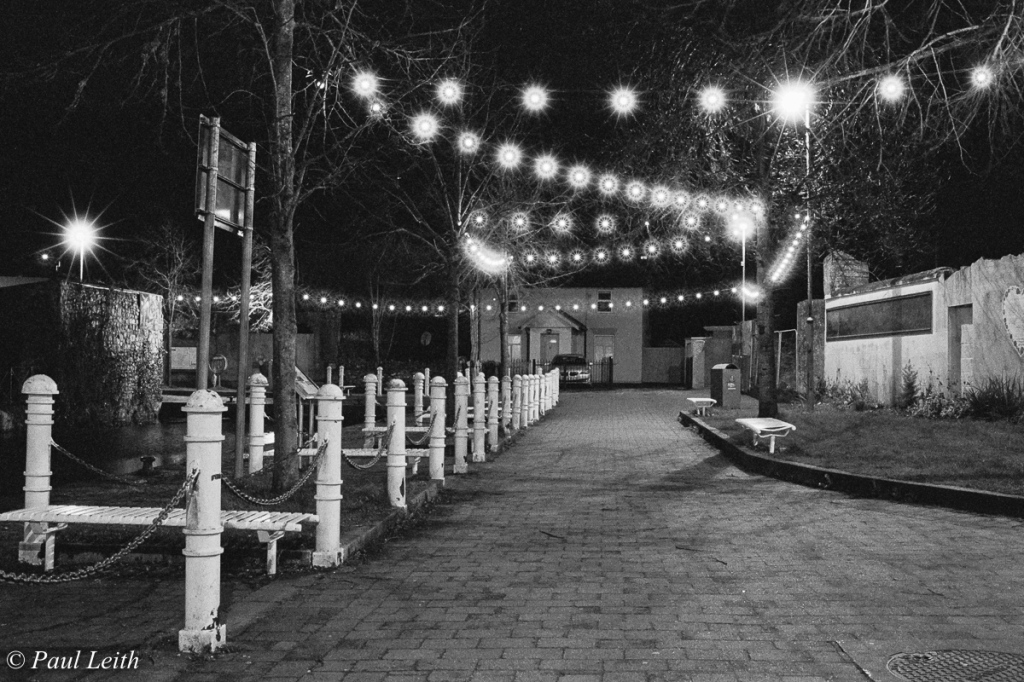
Taking photos at night with an old lens from the 60-70’s, that has straight aperture blades instead of curved ones produces these remarkable features, and they are more pronounced with certain light sources than others. Something to keep in mind 😇
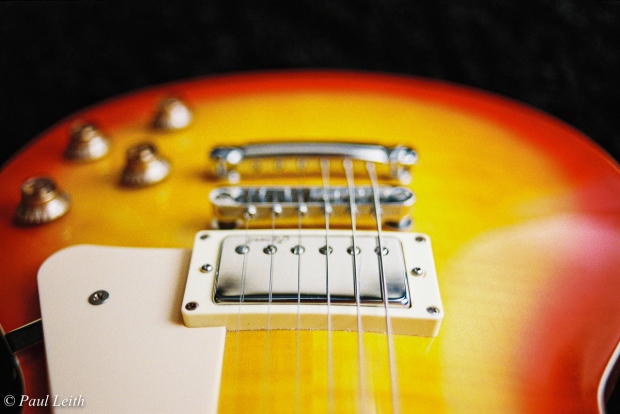
Also don’t forget about up-close bokeh shots … as you see in some of photos above, night lights also make for amazing bokeh balls ! Just find a suitable impromptu, close-up subject (e.g. bicycle seat / wheel, fence railing, street flowers, guttering, etc.) and open your lens right up 👍
Either way, I hope this deep-dive into film night photography helps you somewhat, especially as the evening light draws in faster from Sept onwards.
Give it a go, and I hope it opens some new creative avenues for you !
💻 Instagram: @irishanalogadventures
